Seamless Integration: Why Window and Door Planning Defines a Dutch Full Renovation
In the rhythm of a full renovation, few choices echo through the years like your window replacement and door upgrade strategy. For Dutch homes—whether a 1930s terrazzo-adorned corner house in Utrecht or a post-war rijwoning in Tilburg—getting this right is not about swapping frames. It is about orchestrating light, thermal comfort, and airtightness from the moment the scaffolding rises. This article strips away noise and gives you a clear, actionable framework for planning this phase so it reinforces every other part of your renovation.
Basic Concepts You Must Know Before You Start
Begin with a shared vocabulary. Three metrics define performance in the Dutch climate: U‑waarde (heat transfer coefficient, lower is better), ZTA (solar heat gain factor), and LTA (light transmission). For glazing, HR++ double glazing delivers a U‑waarde around 1.0 W/m²K; triple glazing pushes below 0.7. Frame materials each carry distinct maintenance and insulation signatures: hardhout (hardwood) lasts decades but demands regular painting; kunststof (PVC) wins on minimal upkeep and price; aluminium gives slim sightlines but needs thermal breaks to avoid cold bridges. Finally, any full renovation in the Netherlands touches the Bouwbesluit 2012—the national building decree—which mandates minimum Rc values for the thermal envelope and often triggers a check against the Omgevingsvergunning (environmental permit).
Section 1: Diagnose the Existing Envelope Before You Draw a Single Line
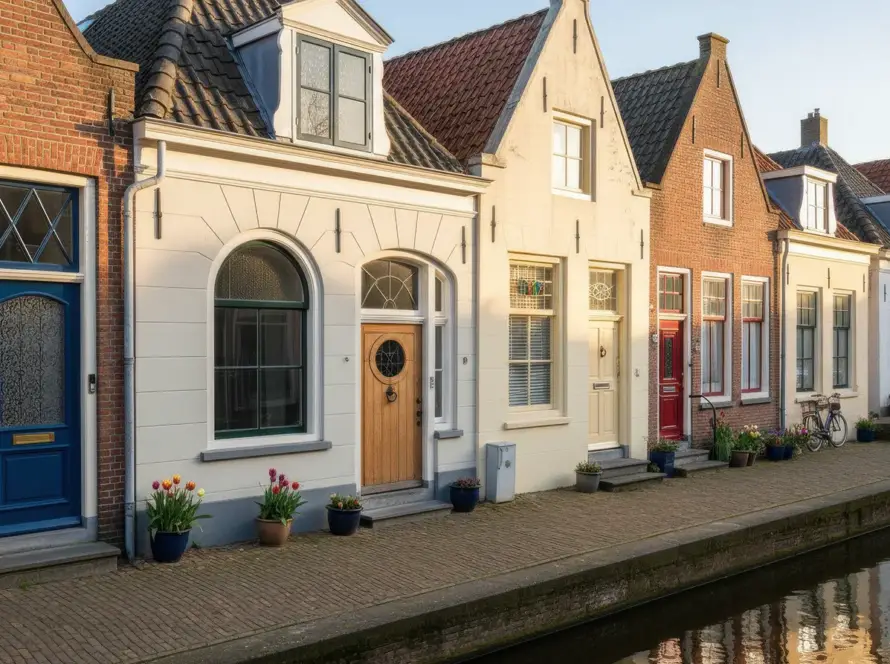
Walk through the house on a cold morning and feel the interior surface of every frame. Persistent condensation on the glass or visible rot at the lower corner joints tells you the current setup has already failed as a thermal barrier. In Dutch homes built before 1992, single glazing or early double glazing with a U‑waarde above 2.8 is common; here, replacement is non‑negotiable. Measure the kozijn (frame) depth. If the existing wooden frame is sound and at least 54 mm deep, you can often install new insulating glass panels while keeping the historic frontage intact—a crucial consideration for planning in beschermde stadsgezichten (protected cityscapes). If the frame is too shallow or severely twisted, a complete window replacement is the only path that protects your insulation investment.
Section 2: Align Window and Door Upgrades with the Renovation Timeline
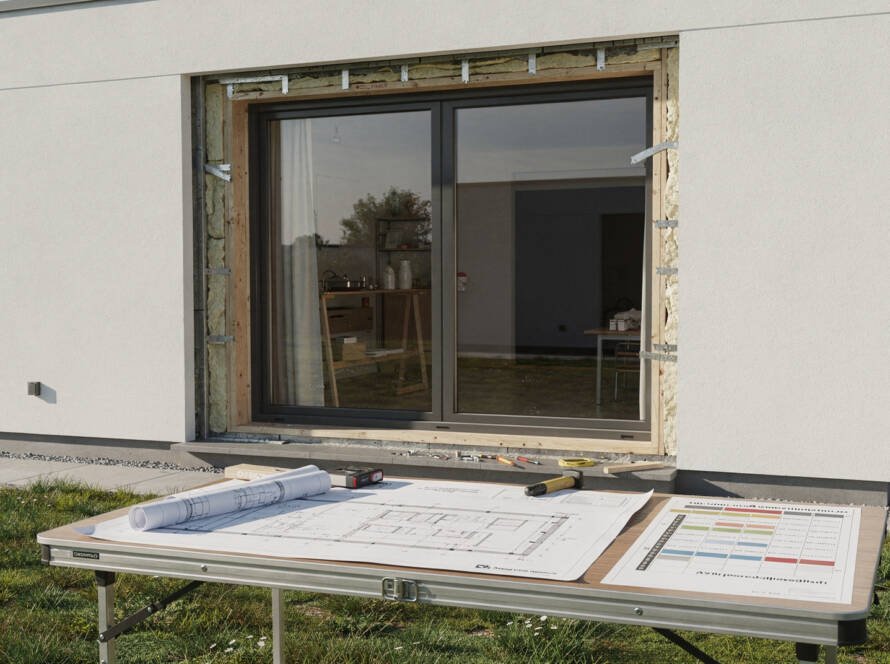
Do not treat window replacement as a later add‑on. In a full renovation, ordering occurs in parallel with structural work. Lead times for custom frames in the Netherlands run eight to twelve weeks, sometimes longer for triple‑glazed timber units. Place the order the moment the structural engineer confirms the new opening sizes. When you replace a facade‑bearing window, the lintel work and masonry repairs happen first, then the frame is set into the dried rough opening. The golden rule: all external doors and windows are installed before plastering and screed, so that the airtightness tape (luchtdichtingstape) can be rendered into the inner leaf. This sequence prevents the all‑too‑common disaster of chasing cracks around a freshly skimmed wall because a window was fitted a month late.
Section 3: Make Material and Glass Choices That Respect Dutch Conditions
Dutch weather cycles between damp Atlantic fronts and dry continental spells. Your door upgrade and frame selection must manage this. For west‑facing facades that catch wind‑driven rain, prefer aluminium with a polyamide thermal break or high‑density hardwood with a KOMO‑certified coating system. For ground‑floor windows in dense urban streets, ventilated glazing beads and a burglar‑resistance class RC2 make sense. Specify triple glazing with an argon fill not merely for the U‑waarde, but because the inner pane stays warmer, eliminating the cold downdraft that forces you to crank the radiator. If the house lies under a flight path or next to a tram line, move from standard 4‑16‑4 glazing to asymmetric panels with a thicker outer sheet to dampen low‑frequency noise. Every choice feeds into the energy label, which, for Dutch homes, directly impacts resale value.
Section 4: Navigate Permits, VvE, and Monument Rules Early
Dutch regulation is not a barrier—it is a predictability tool, provided you engage before the first chisel swing. Check the following checklist in sequence:
- Omgevingsloket online: enter your postcode. If the property is a monument or part of a beschermd stadsgezicht, you will likely need an Omgevingsvergunning for changing window profiles or colours. Even replacing single glazing with HR++ in a monument can demand a permit if the mullion thickness changes.
- Welstandsnota: each municipality publishes aesthetic criteria. Some demand that rear‑elevation windows match the original subdivision of the frame, even if you switch to tilt‑and‑turn hardware.
- VvE (Homeowners Association): for apartments, the splitsingsakte often defines the outer shell as shared ownership. A door upgrade or window change in a flat thus requires formal approval from the VvE, and they will need the technical details matching the building’s insurance criteria.
- BRL 9101 and KOMO: insist that your installer uses products certified under these standards; this simplifies the post‑inspection report for the building authority.
Section 5: Build the Details That Make Airtightness Work
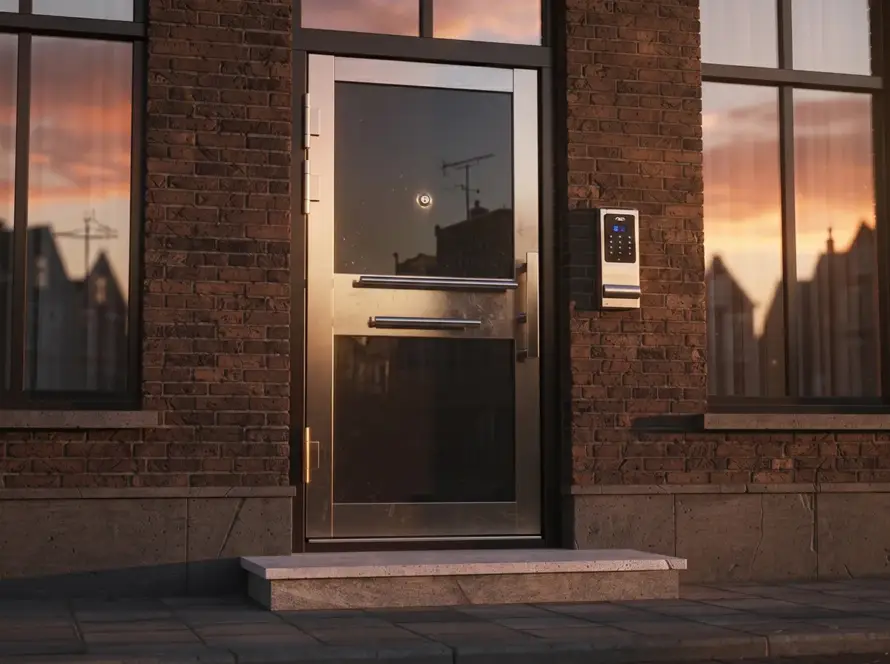
A full renovation in the Netherlands today pursues a luchtdichting Qv10 value below 0.4 dm³/s per m², because it slashes heating demand. Windows and doors are the weakest link. Specify that the installer tapes the inner perimeter to the internal masonry with an EPDM or butyl‑based tape that remains flexible as the building settles. At the sill, use a water‑shedding foil that returns behind the cavity insulation. For a door upgrade, especially a heavy front door, verify the manufacturer’s data for the threshold overlap—a double‑rebate threshold with replaceable rubber seals stops the typical Dutch hallway draft. After installation, schedule a blower‑door test during the drying phase of plaster; it reveals leaks while they are still easy to fix.
Practical Tips for a Flawless Execution
Adopt these directives to keep the planning tight and the result measurable:
- Verify measurement responsibility. Make the supplier responsible for the in‑werk‑maat (finished opening size). They must visit the site after the structural openings are formed and before ordering, otherwise dimension errors become your liability.
- Integrate ventilation provisions early. Decentralised balanced ventilation units (decentrale WTW) often require a core drill directly beside the window. Bore these holes before the frame goes in, avoiding later damage to the water barrier.
- Use certified construction specialists. Engage a kozijnen specialist with VKG‑KOMO certification for plastic frames or a recognised hardwood supplier; ask to see the KOMO‑certified installation protocol. Do not hand this work to a general carpenter without documented airtightness training.
- Inspect the sample on‑site. Before bulk delivery, have one complete frame and sash delivered. Check the miter joints, the operation of the tilt‑before‑turn mechanism, and the colour match under natural light. Correcting a factory shade error at this stage saves weeks.
- Apply for subsidies as you go. The ISDE (Investeringssubsidie duurzame energie) rewards upgrades to triple glazing and highly insulating doors when done alongside other measures. Capture photos of the removed old glazing and the installers’ invoices; the RVO audit trail depends on them.
Conclusion
Window replacement and a door upgrade during a full renovation are not isolated trades—they are the precision instruments that connect your insulation, ventilation, and daily comfort. For Dutch homes, where moisture and thermal performance are in constant negotiation, the sequence you choose, the standards you enforce, and the detail you insist upon at every junction determine whether your house breathes quietly or bleeds heat for decades. Start the permit checks tomorrow. Set the order timeline hand in hand with the structural engineer. Demand airtightness proofs. When the first winter storm rattles the coast and your living room stays calm and warm, you will know the planning was worth every careful step.